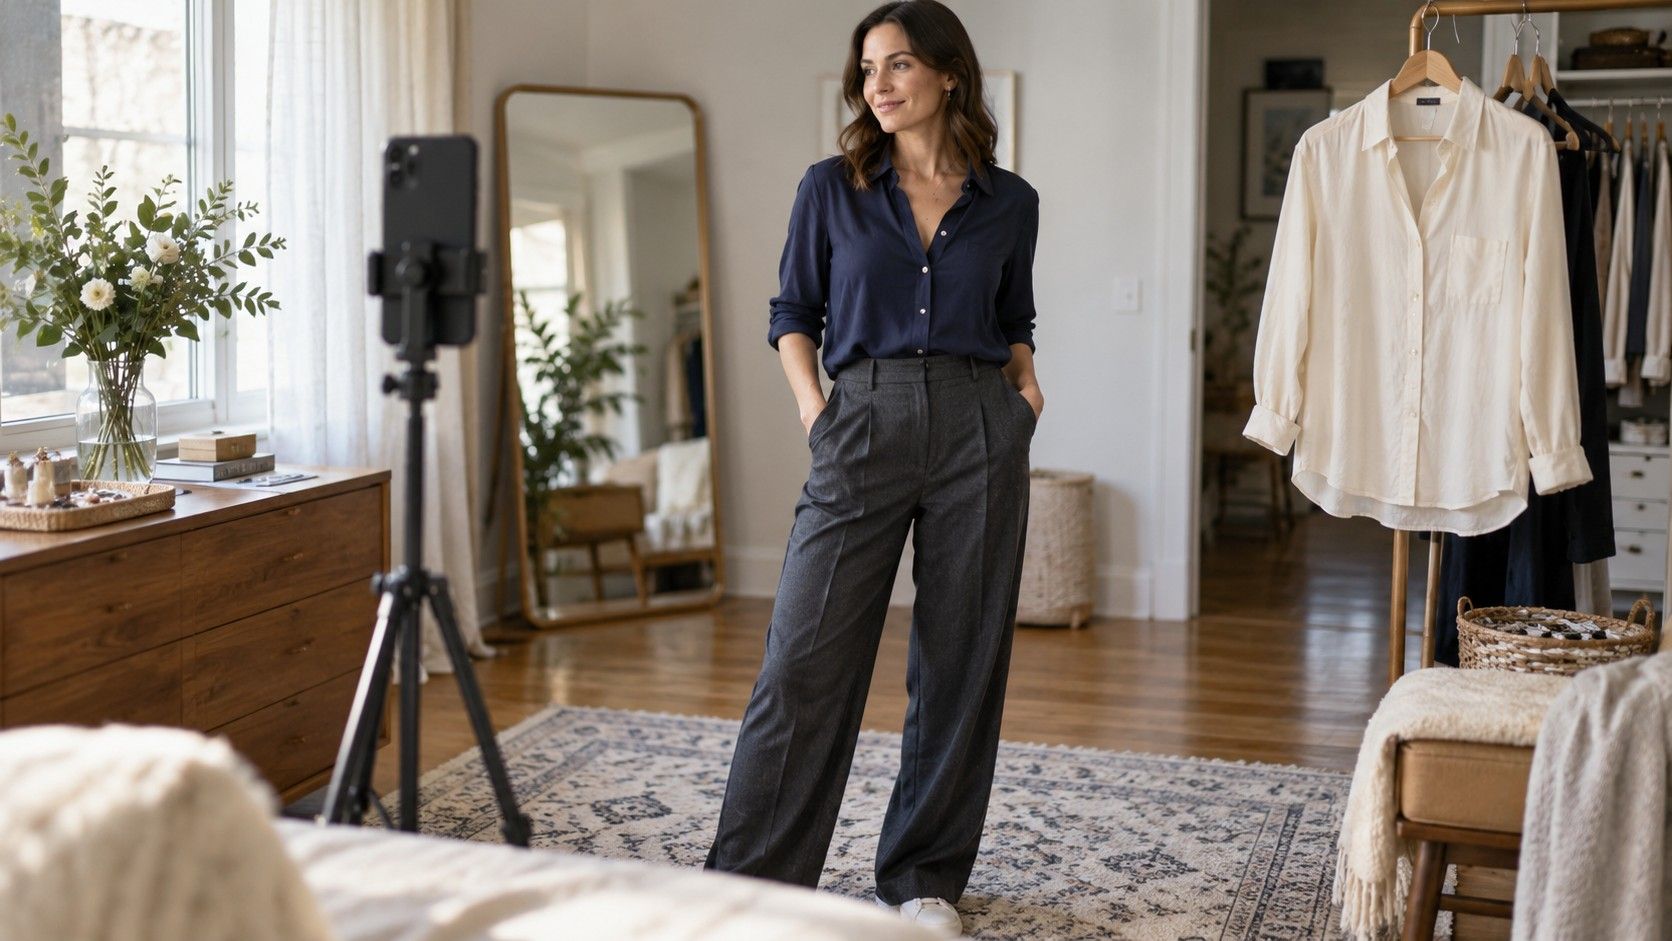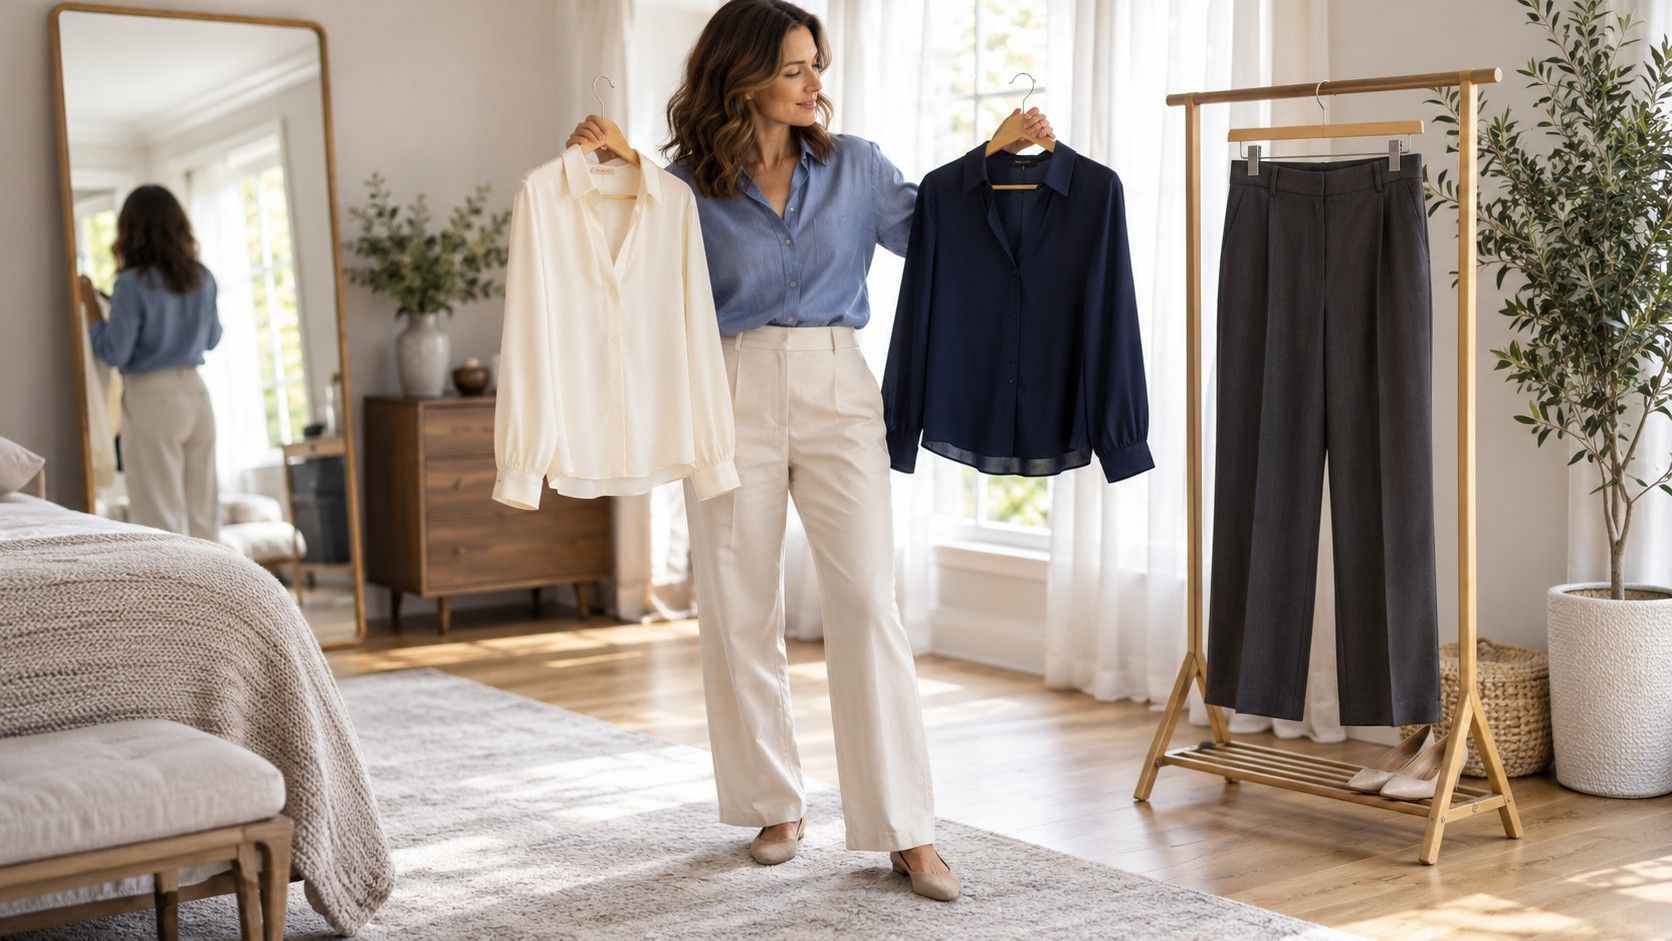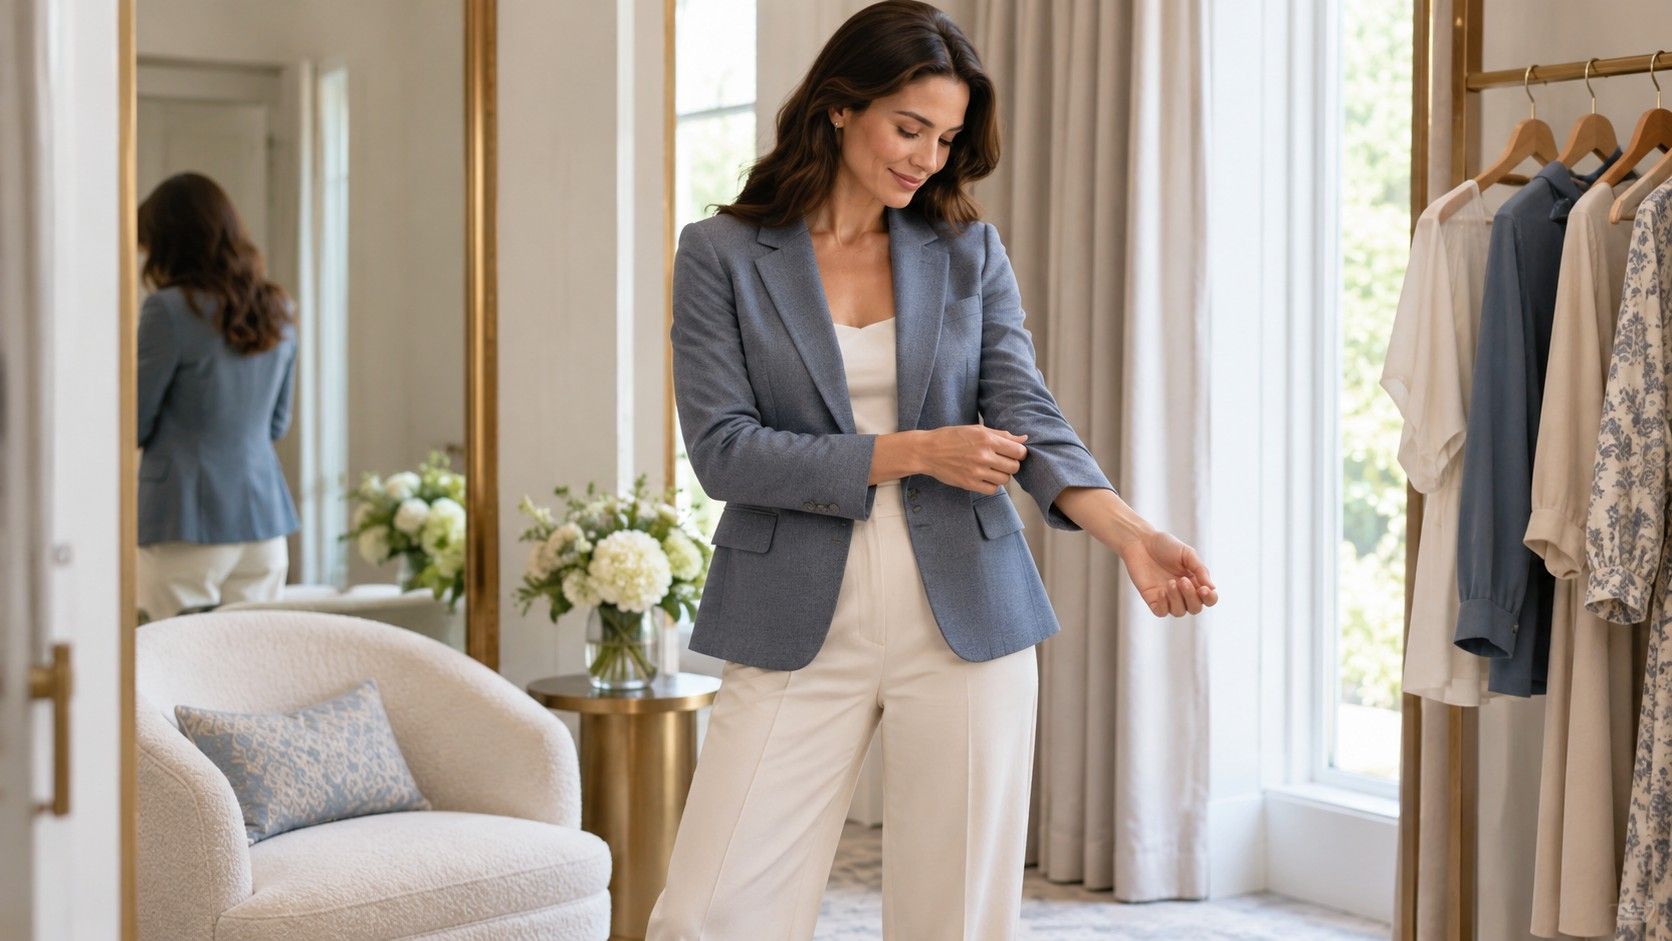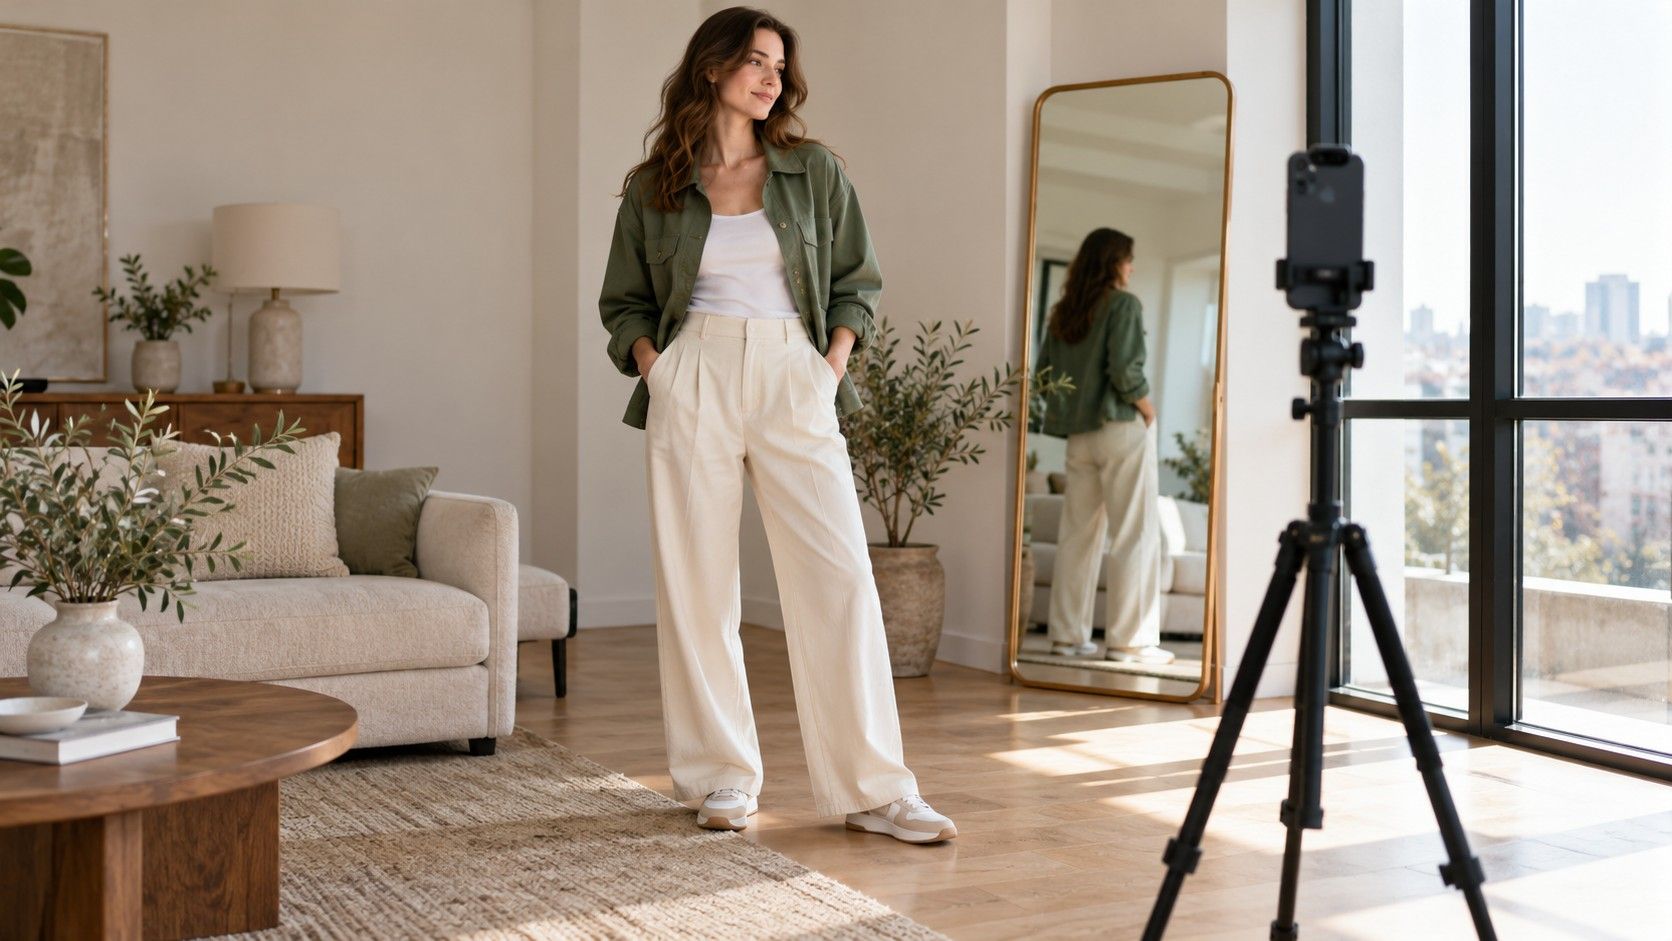
A mirror can make two outfits seem almost identical, while two phone photos can make the same outfit look unexpectedly different. Camera position, posture and light all influence the result. A useful outfit silhouette comparison keeps those variables steady enough to answer a small clothing question: which jacket length do you prefer, where does a hem sit, or how do two trouser cuts hang? The photographs are a record of garments in a particular moment. They are not a reliable way to diagnose a body type or judge your body.
Choose a repeatable camera setup
Find a place with enough room to show your whole outfit without tilting the phone sharply. A plain door or uncluttered wall makes garment edges easier to see, and soft daylight from in front or slightly to one side is usually simpler to work with than a bright window behind you. Clear the floor so you can stand naturally and move away from the camera without stepping around furniture.
Use a stable support and start with the camera around waist height, aimed level rather than upward or downward. There is no magic height that removes every perspective effect. The useful part is repeating the same height and distance for each outfit. Place a small removable mark where the support stands and another where your feet go, provided the floor surface allows it.
Avoid using an ultra-wide view merely to fit into a small room. It can make parts nearer the lens look disproportionately large, especially close to the frame edges. Move the camera farther away if you can and use a normal view that comfortably includes your head and shoes. If space forces a close shot, keep that limitation in mind and rely more heavily on the in-person fit check.
Clean the lens, choose one camera and keep the same orientation. A front camera and rear camera may frame the scene differently, so switching between them adds another variable. Use a timer or remote shutter that gives you time to settle into a comfortable stance. Crop afterward only for clarity; keep the scale similar when placing two pictures beside each other.
Keep pose and shoes consistent
Choose a neutral stance you can repeat without effort: feet comfortably placed, weight distributed naturally and arms hanging with a little space from the torso. You do not need to hold yourself rigidly. The goal is to avoid comparing one outfit with a hand on your hip and another with your shoulders turned, because the resulting garment outlines answer different questions.
Photograph a front view and a side view if both help the decision. Turn your whole body for the side picture instead of twisting your torso toward the camera. Keep your gaze and shoulder position relaxed. A dramatic pose can be enjoyable for an outfit photograph, but save it for after the comparison so it does not become the reason one garment seems more appealing.
Keep the shoes the same when comparing trouser width, skirt shape or jacket length. A heel changes your stance and can change how a long hem meets the floor. If the point is to choose shoes, hold the rest of the outfit steady instead. You can then see whether a different sole height improves clearance or whether a color change draws attention in a way you enjoy.
Use the same underwear and base layers when they affect the garment. A different bra can alter the fall of a blouse or dress, while a tucked vest can change a waistband. You do not need to reproduce every small detail for a casual wardrobe decision, but note the ones that visibly change fit. Otherwise the photograph may credit the jacket for a difference caused underneath it.
Compare two or three versions at a time. For example, photograph a top untucked, fully tucked and loosely tucked while leaving the trousers and shoes alone. If you change the tuck, belt, footwear and outer layer together, you may find a combination you like, but you will learn less about which adjustment created the result. A narrow question makes the next outfit easier to build.
Compare the garment outline rather than your body
Look first at the clothing edges: where the shoulder seam sits, how the sleeve falls, where the jacket ends and how the trouser leg meets the shoe. Describe what you can see in garment language. A jacket has a straighter side seam; a skirt holds its shape away from the legs; a knit gathers above the waistband. These observations are more useful than deciding that your body needs correcting.
Choose a preference rather than searching for a supposedly ideal proportion. You may like a short jacket that leaves most of the trousers visible, or a longer layer that makes a continuous outline. A style system can offer ideas to try, but the photo cannot establish an official category from the appearance of individual body parts. Keep the question attached to the clothes you intend to wear.
Distinguish an intentional fold from a possible fit issue. Soft fabric naturally makes folds; a photograph freezes them without showing whether they disappear when you move. A sleeve twisting in every view or a line of pulling across a fastening deserves a closer look. Inspect the garment in person, check whether the size feels comfortable and avoid assuming a single shadow proves the cut is wrong.
Use comparable image sizes on screen and view them at an ordinary distance. Zooming into small creases can turn a normal garment into a collection of apparent faults. First ask whether the overall shape suits the occasion and your taste. Then inspect a specific issue, such as a pocket that sticks out or a hem caught on the shoe, if it matters in wear.
Color contrast can change which outline you notice. A dark jacket against a pale wall may have a clearer edge than a pale jacket in the same spot. That does not automatically make its fit better. If an edge disappears, change the background for both outfits or check the outline directly in the mirror. Keep camera visibility separate from whether you enjoy the color on yourself.
Add a sitting and walking check
A standing photograph misses much of a normal day. Sit on a chair similar to the one you use at work or at dinner and notice the waistband, neckline and hem. Trousers may feel comfortable standing and press when seated; a dress may offer enough coverage upright but need more attention on a low seat. Record the practical problem even when the standing picture looks exactly as you hoped.
Walk a few steps in the complete outfit and turn around. Long trousers should have suitable clearance for your shoes, and a skirt should allow the stride you need. Check whether an open layer swings comfortably or tangles around a bag. A short video can show this more clearly than another still image, but you can also make the decision simply by paying attention as you move.
Reach forward as though using a keyboard, then lift an arm toward a shelf. A fitted jacket may rise somewhat during the movement; what matters is whether it restricts you or needs constant resetting afterward. If the underlayer bunches inside the sleeve, compare it with a smoother or narrower sleeve before blaming the jacket shape.
Add the bag and coat you actually plan to use. A shoulder strap may pull a loose neckline sideways, while a coat can compress a full sleeve or catch a long cardigan hem. These interactions will not appear in a carefully arranged outfit photo without accessories. Solve them before deciding that a combination is ready for a commute or an event.
Comfort may settle a close visual comparison. If two outfits give you a similar outline but one lets you sit, walk and carry your things more easily, that is useful evidence in its favor. You do not need a visible difference in every photograph to justify the choice. Clothing has a job outside the frame.
Use a short note to prevent endless retakes
Write one sentence beside each useful picture. Keep it specific: the shorter jacket stays clear of the trouser pockets, the wide leg catches on these shoes, or the tucked top needs adjusting after sitting. A note about the garment and situation will help later, when the memory of how it felt has faded.
Set a stopping point before starting, such as two outfit versions and one adjustment. Take another photograph when a real change needs comparing, rather than repeating the same pose until you happen to like the image. If the process becomes tiring or makes dressing less pleasant, put the camera away. A mirror and a few minutes of movement may answer the question more comfortably.
Revisit a comparison when something changes: new shoes, an altered hem, a different setting or a shift in what feels comfortable. Earlier photos show what worked under earlier conditions. Keep the combinations you want to wear again and let the rest go without turning the folder into a permanent assessment of your appearance.