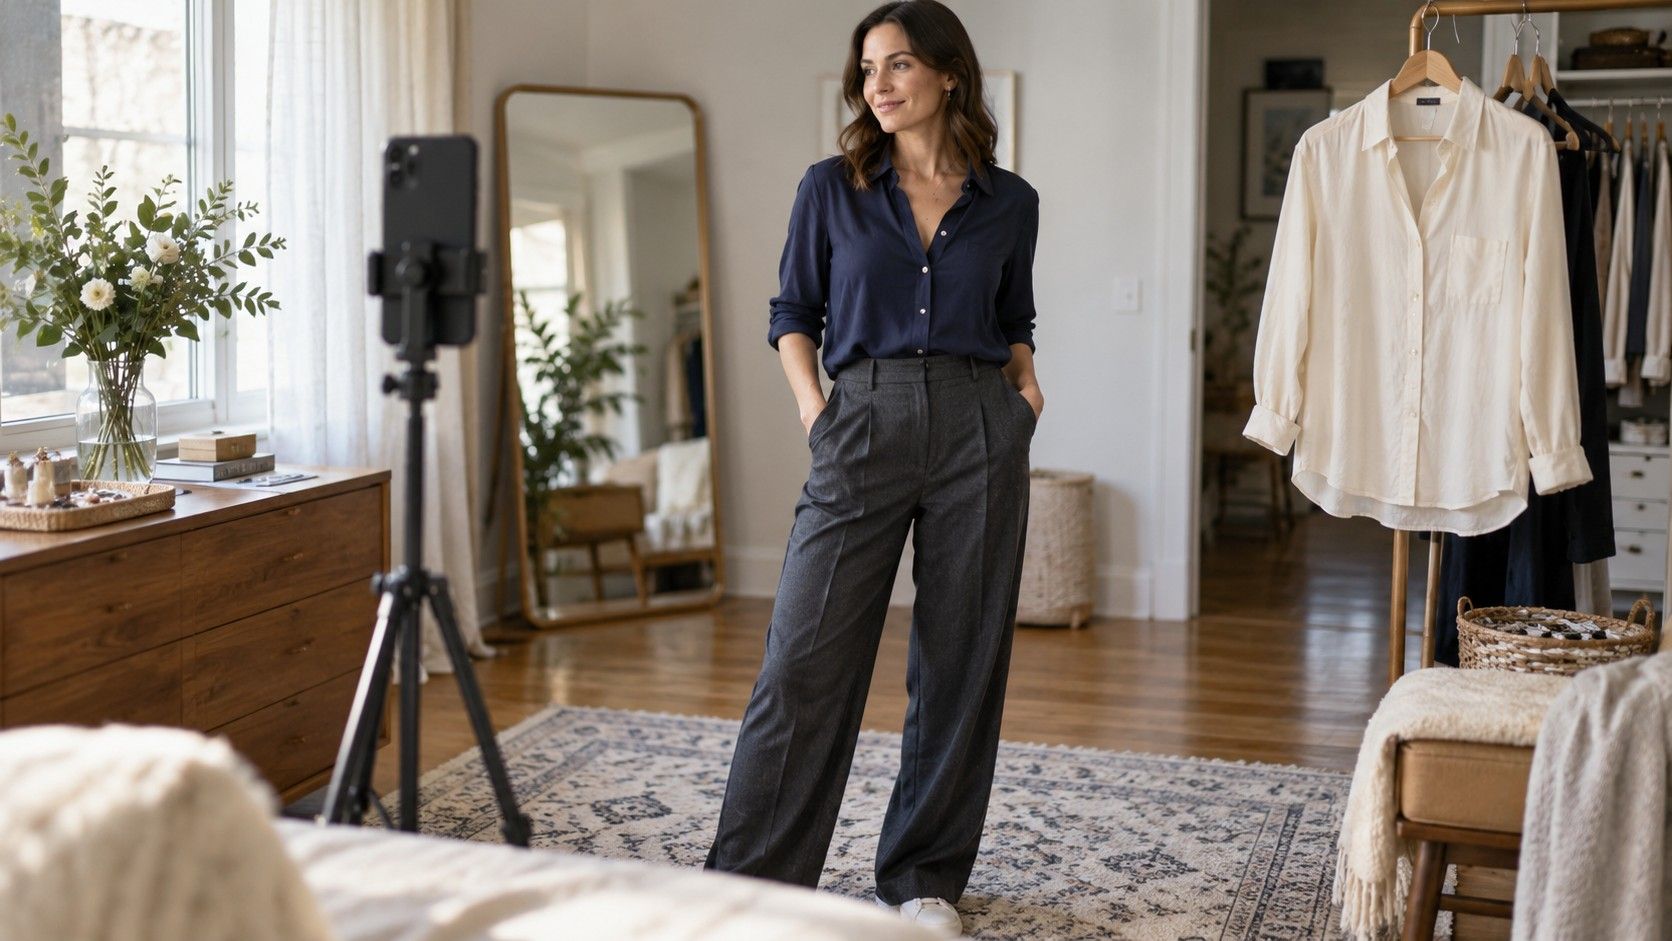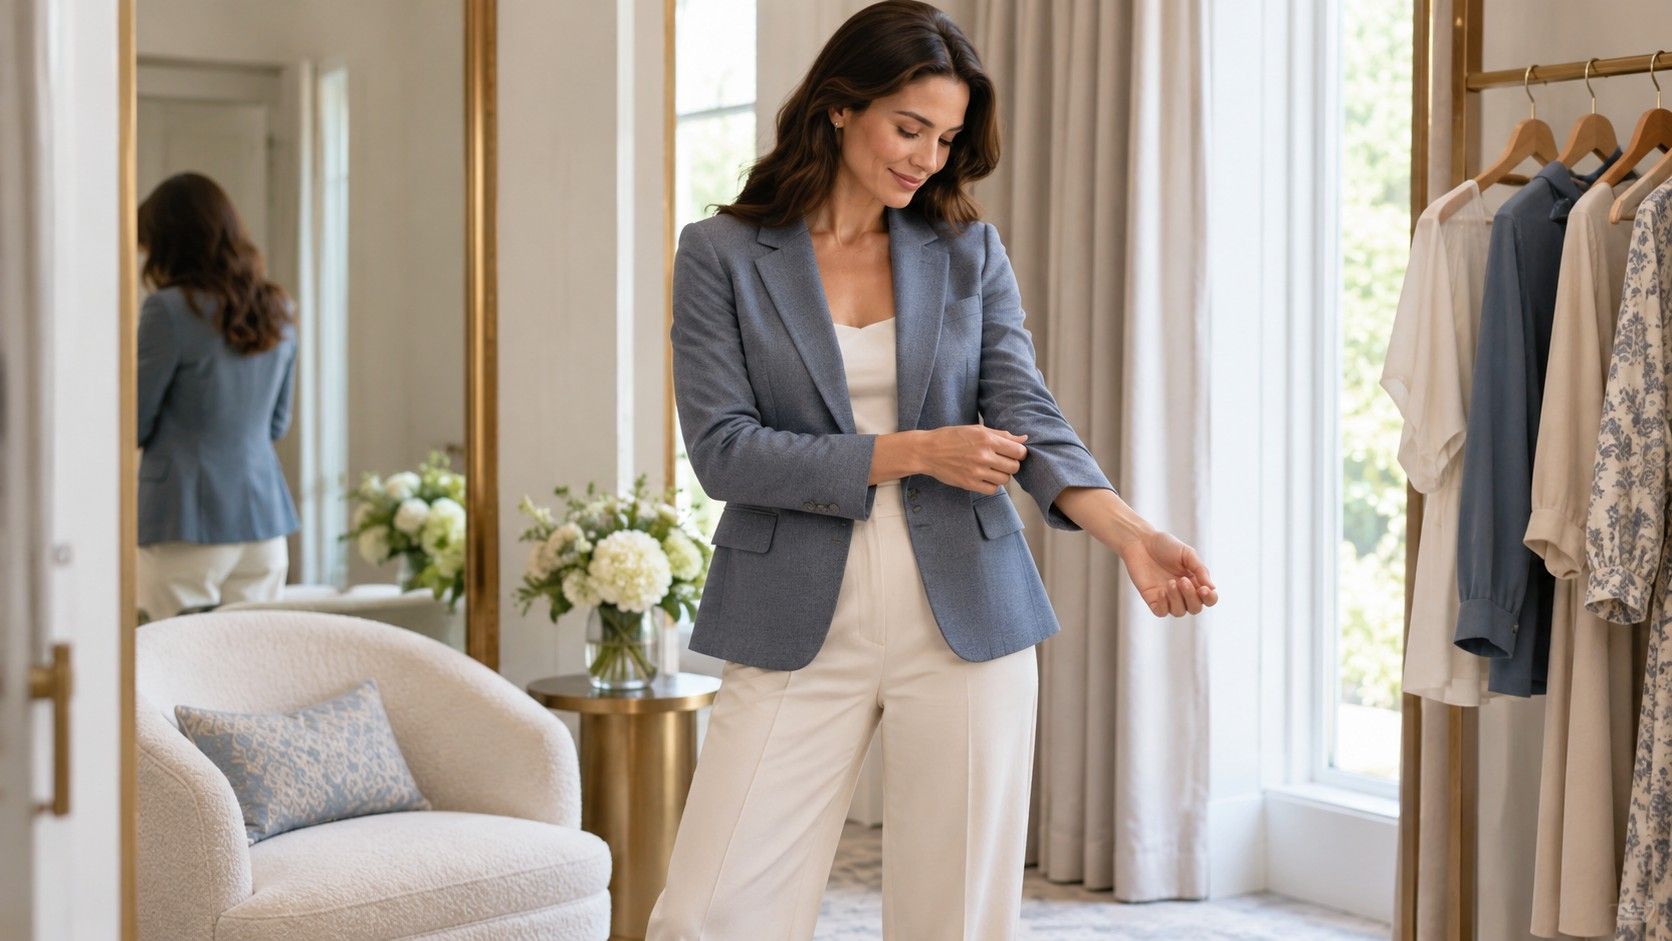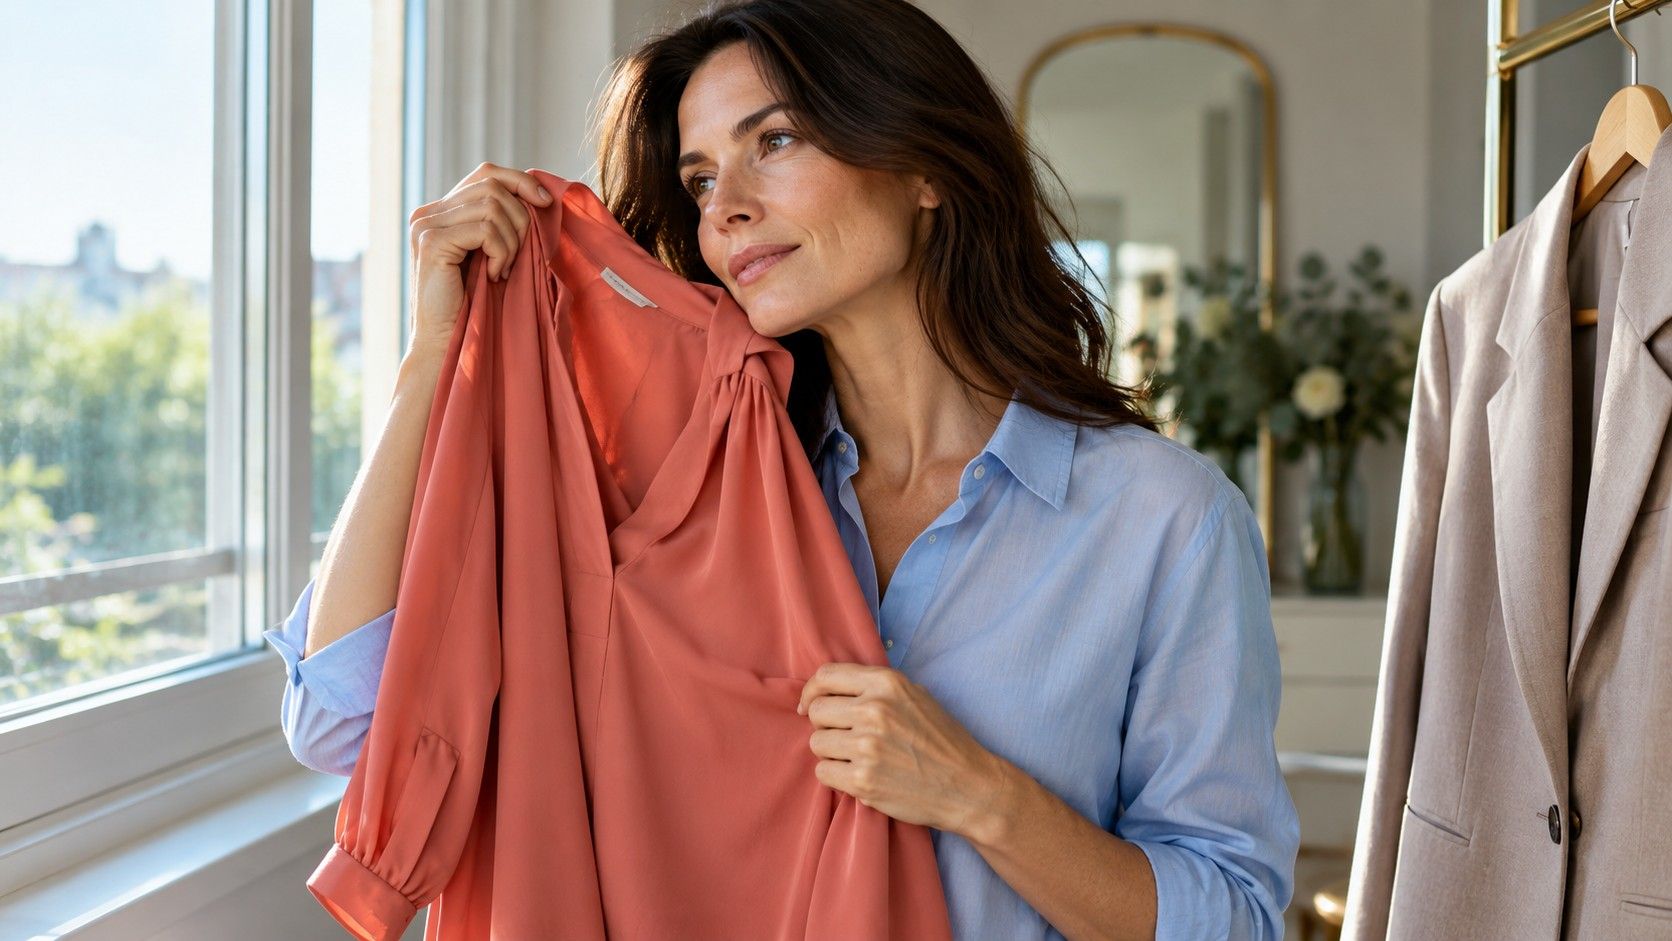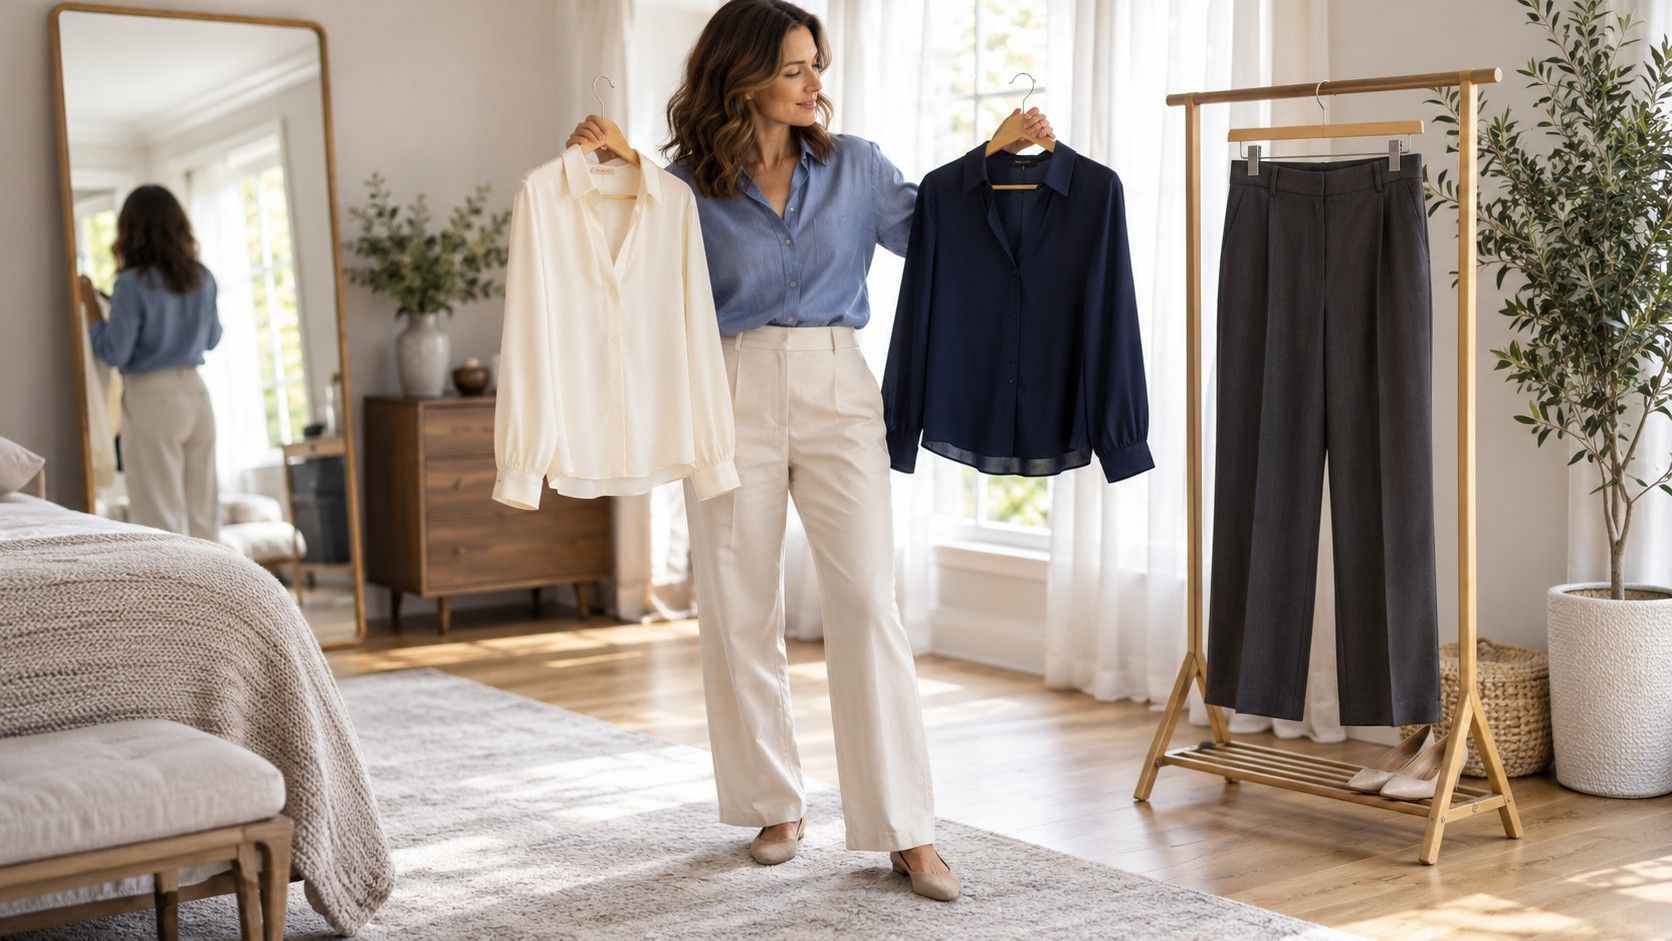
A navy shirt can look convincing on a hanger and feel strangely severe once it is tucked into trousers. Changing the trousers, the neckline and the color together makes it difficult to know what helped. A four-outfit comparison gives you a smaller problem: two shapes, two color combinations and enough time to notice what each one actually does. You can try it with clothes you own, without deciding on a body-type label or a seasonal palette first.
Keep the question small
Choose a decision you could make after an afternoon at home. Perhaps you want to know whether a tucked shirt or an untucked hem works better with your everyday trousers. Perhaps light tops feel easier to wear than dark ones, but only with certain necklines. Write that question down before opening the wardrobe. “Which clothes suit me?” is too broad to produce a useful answer from four outfits.
Body shape and colour analysis often combines several different ideas: garment proportions, personal color preferences, fabric behavior and named style systems. Separate those ideas for this exercise. A description such as “the shoulder seam pulls when I reach forward” is a fit observation. “I prefer the softer outline” is a preference. Neither proves a category, and neither needs to. The aim is a wardrobe decision you can repeat.
Keep shoes, underwear and the basic occasion consistent. Compare two work outfits with the shoes you would wear to work, rather than pairing one with slippers and the other with heels. If you use a bra or a smoothing layer, choose the same one throughout. These details can change how fabric hangs and how you stand, which can make a comparison less clear.
Choose two shapes and two color combinations
Build shape A and shape B from familiar garments with reasonably similar fabric weight. For instance, compare a straight shirt worn loose with the same shirt partially tucked. That is a cleaner first experiment than comparing a rigid blazer and pencil skirt with a jersey dress. The second pair changes construction, texture, movement and outline at once, so it cannot tell you much about a single choice.
For color combination 1, use a top and bottom close in depth: medium blue with charcoal, for example. For combination 2, create a more distinct light-dark difference, such as an ivory top with charcoal trousers. Exact shades do not matter as much as having a visible difference you can describe. Try to keep the top fabrics and necklines similar. If you cannot, record the difference rather than pretending the comparison is perfectly controlled.
| Outfit | Shape | Color relationship | Main comparison |
|---|---|---|---|
| A1 | Loose shirt hem | Similar depth above and below | Starting point |
| A2 | Loose shirt hem | Clear light-dark difference | Color against A1 |
| B1 | Partially tucked hem | Similar depth above and below | Shape against A1 |
| B2 | Partially tucked hem | Clear light-dark difference | Color against B1; shape against A2 |
You do not need to buy duplicate shirts to complete the grid. A cardigan worn open over the same base outfit can provide two color options near the face, provided both cardigans have a similar outline. A scarf is another possibility, but it adds volume and changes the neckline; note that extra variable. Borrowing a clean garment can be more informative than buying something for a test with an uncertain outcome.
Set up a fair comparison
Use one mirror and a spot with steady, indirect daylight. Stand away from a strongly colored curtain or wall that reflects light onto your face. Keep the room lighting unchanged during the comparison. Phone photographs can help you remember the outfits, but automatic exposure and white balance may alter both skin and fabric colors, so photographs should support your observations rather than settle the result.
If you take pictures, put the phone in one place and mark a standing position on the floor. Keep the camera level and use the same distance for every outfit. A low camera angle and a close wide-angle view can alter apparent proportions. Take a relaxed front view and a side view without changing posture to make one outfit look better. A short walking clip may show hem movement that a still image misses.
Look at fit before judging the whole silhouette. Are buttons pulling? Does a side seam twist? Does the neckline stay where you want it? A garment that is too tight or too loose can distort your impression of the shape you intended to compare. It is reasonable to exclude an outfit because the particular garment fits poorly; that does not mean every garment with that outline will fail.
For the color comparison, look at the relationship between face, neckline and clothes. Notice whether you enjoy the contrast, whether a shade dominates your attention and whether the outfit feels appropriate to its purpose. Avoid treating “healthy,” “tired” or “younger” as objective scores. Light, sleep, makeup and camera processing can all affect those impressions, and a home styling test cannot diagnose anything about your skin or health.
Write a few words immediately after each outfit: “hem feels long,” “prefer the lighter neckline,” “waistband comfortable.” If you wait until the end, the last combination can become disproportionately memorable. You can also view the pictures in a different order later. Keep the notes short enough that you are recording an observation instead of composing an argument for your favorite.
Wear each outfit beyond the mirror
Give each combination the same small sequence of tasks. Sit at a desk for a few minutes, reach for a shelf, walk down a hallway and bend to put on a shoe. These ordinary actions reveal whether a waistband digs in, a tuck comes loose or a neckline needs attention. An outfit can look balanced while standing and still demand more management than you want during a normal day.
Notice the fabric drape during movement. A shirt with a fluid finish may fall back into place after you sit, while a crisp cotton version may hold a fold above the waistband. Neither behavior is automatically better. Decide which you prefer for the setting. A little creasing may be acceptable for a casual lunch and irritating when you need a neat appearance for several hours of meetings.
Check the view with your usual bag and outer layer. A crossbody strap can change the way a blouse falls, and a jacket can cover the very waist detail you thought you were testing. If the outfit is intended for commuting, wear the bag while walking. If it is for a desk job, pay more attention to the seated neckline and the portion visible above the desk.
Try separating appearance from effort in your notes. “I like B2 best in a photograph” and “A1 is easiest to wear” can both be true. You may choose the first for an evening out and the second for a busy workday. Color and body type analysis becomes more useful when it accommodates those different purposes instead of insisting on one winning outfit for every situation.
Turn observations into a shopping note
Look for a pattern that appears in more than one comparison. If both partially tucked versions feel comfortable and give you an outline you enjoy, the tuck may be worth repeating. If the lighter top works with one shape but feels disjointed with the other, keep the combination specific. “Ivory shirt with these trousers and a partial tuck” is more useful than declaring that you must always wear light colors.
Translate the strongest observation into garment details. Record the approximate shirt length, neckline opening, sleeve room or trouser rise that helped. You can measure a favorite garment laid flat and use it as a reference when browsing, allowing for differences in fabric and cut. The goal is to recognize promising clothes faster, while still checking the actual fit in a changing room.
Keep an uncertainty line in the same note: “Need to compare softer fabric,” or “Color looked different after sunset.” That stops a single afternoon from becoming a permanent rule. Repeat only the uncertain part on another day, using the same shoes and base garments where possible. There is no need to redo all four outfits if the practical question has already been answered.
Before purchasing, ask whether a small adjustment to an existing outfit would provide the result: a different tuck, a moved button, a hem alteration or a color already in your wardrobe. Save one clear reference photograph beside your notes. When a new garment attracts you, compare it with the details you actually liked and the tasks it needs to handle. That gives your next decision a useful starting point without turning a style framework into a restriction.